Showing posts with label diy. Show all posts

5.29.2013

Yo Gabba Gabba PARTY!

I was a little disappointed when I weighed myself today, and took my measurements to track my Revolt Fitness progress. It's week 5 now, and I'm up 2lbs, and didn't loose any inches in the last 2 weeks. Booo. But this week is all cardio, which I love. And hopefully it will jump start the next wave of melting off the excess!

And I'm sure the lack of pounds lost has nothing to do with Memorial Day and me drinking my weight in margaritas.

Or the nacho bar from Brooks's birthday the weekend before.
That's right, I said nacho bar. It was the best/worst decision of my life.

His party was Yo Gabba Gabba themed, and it was colorful and silly and so much fun!

For food we had the nacho bar, rainbow jello cups, cupcakes, and Dazzleberry lemonade.
I think nacho bars are going to be my go to party food from now on. It was so easy, and who doesn't love nachos??
If you want to have one (and trust me, you do) here's what we used:
1 big bag of chips from Moes
5 bowls of queso from Moes (totally worth the $25!)
4 cans of black beans
2 jars sliced jalepenos
1 bag shredded lettuce
2 cans sliced olives
1 bag shredded Mexican cheese
3 diced tomatoes
1 tub of sour cream
family size jug of salsa
A couple of bunches of green onions
We didn't use meat, but I would figure you would need a couple of pounds of shredded chicken or  ground beef.
We had about 30 people, and this was more than enough. I ended up having nachos for several days after, but honestly, has anyone ever complained about too many nachos?? I think not.
For the rainbow jello cups, I used this recipe, and while they took FOREVER, they looked cute and were a huge hit. The lemonade was just regular lemonade with grenadine mixed in until it was a pretty color. I also had maraschino cherries to go in it.
Brooks's smash cake was my favorite part! I knew I wanted to make a rainbow cake, but was so worried it was going to turn out brown when all the colors mixed, but it turned out awesome.
These pics are terrible, but I used a rectangle pan to bake the cake mix, then used a bowl to cut out 2 circles to stack. This was to avoid buying a smaller round cake pan. To make the rainbow, I just divided the prepared white cake mix into 4 bowls, and added food coloring until I got a really bright color. Then I just poured it into the pan, 1 color at a time. I tried to get it in the pan and into the oven quickly, so the colors didn't have time to mix and turn out looking like vomit!
Then I frosted it in white, so that the bright inside would be a shock when he smashed into it, and it was!! For the toppers I got the Yo Gabba Gabba bath toys of EBay, and he loved them.
For fun, we had a ball pit made from a blow up swimming pool filled with play balls.
 'Party in My Tummy' Game, made by painting Brobee on a piece of foam board, then cutting a hole in his stomach, and taping a piece of cardboard to the back to make him stand up. We used plastic food from Lincoln's play kitchen for the kids to try to throw in his tummy. It's a Gabba thing...
And we 'Pinned the Eye on Muno' by putting a printout of Muno on a dry erase board and using magnets painted like Muno's eye for the kids to try to stick on.
Fun stuff.
Here's a few more of my favorite pictures from the party.
For free Yo Gabba Gabba printables you can check out Nick Jr. and check out my Pinterest board for all the details I obsessed over trying to prepare for this party :)

Follow on Bloglovin

4.22.2013

Lazy Moms Guide to Cloth Diapering

In honor of Earth Day I wanted to share with you all my cloth diapering routine. I would call it semi, or part-time cloth diapering, as we still use disposables for overnight and if we are out of the house for very long. I have convinced myself that even though I'm too lazy to cloth diaper full-time, I'm still saving a little bit of the planet, and saving a lot of my money!
Fat babies in cloth diapers are the cutest.
When I was first considering cloth diapering, I was scared. I think we can all agree that it sounds pretty gross, right? But after seeing how many diapers we went through with Lincoln, and really wanting to go green/save $$, I did A LOT of research and decided to at least give it a try.
I really liked the look and benefits of the bumGenius line, but wasn't a fan of the price. As Richard can attest, I have a tendency to be ALL about something, only to be completely over it seconds later. So I knew I needed to start with something that wouldn't be so expensive that I would be feeling uber guilty if I gave up after a week.
All those snaps make these diapers a breeze!
Econobum is by CottonBabies, the same company that makes bumGenuis, and they are a really inexpensive way to cloth diaper  A full kit that includes 3 waterproof one-size covers and 12 cotton pre-folds is only $48.95. And that, my friends, is all I have ever bought. When I initially bought the kit, I figured I would upgrade to one of the fancier, colorful styles once I made the commitment. But then I realized it's a diaper. It goes under my babies clothes and holds poop. Why the heck would it need to be cute? One bumGenius diaper can range from $18-$25. So I think I'll stick with my $50 12-pack, thanks. I bought this kit before Brooks was born, and now he is almost a year old. The covers have no stains and the pre-folds are still in great condition.
Storage: covers, folded inserts, roll of liners, wipes, and disposables for when I'm lazy :)
And these really are so easy. It takes no longer to lay a pre-fold in the cover and snap it closed than it does to put on a disposable. But that's not really the issue, is it? The issue is dealing with the shit. How can anything be easier than wrapping all that mess up in the diaper and flipping it into the trusty diaper genie?? I'm not gonna lie, it's a little more work than that. But not much.
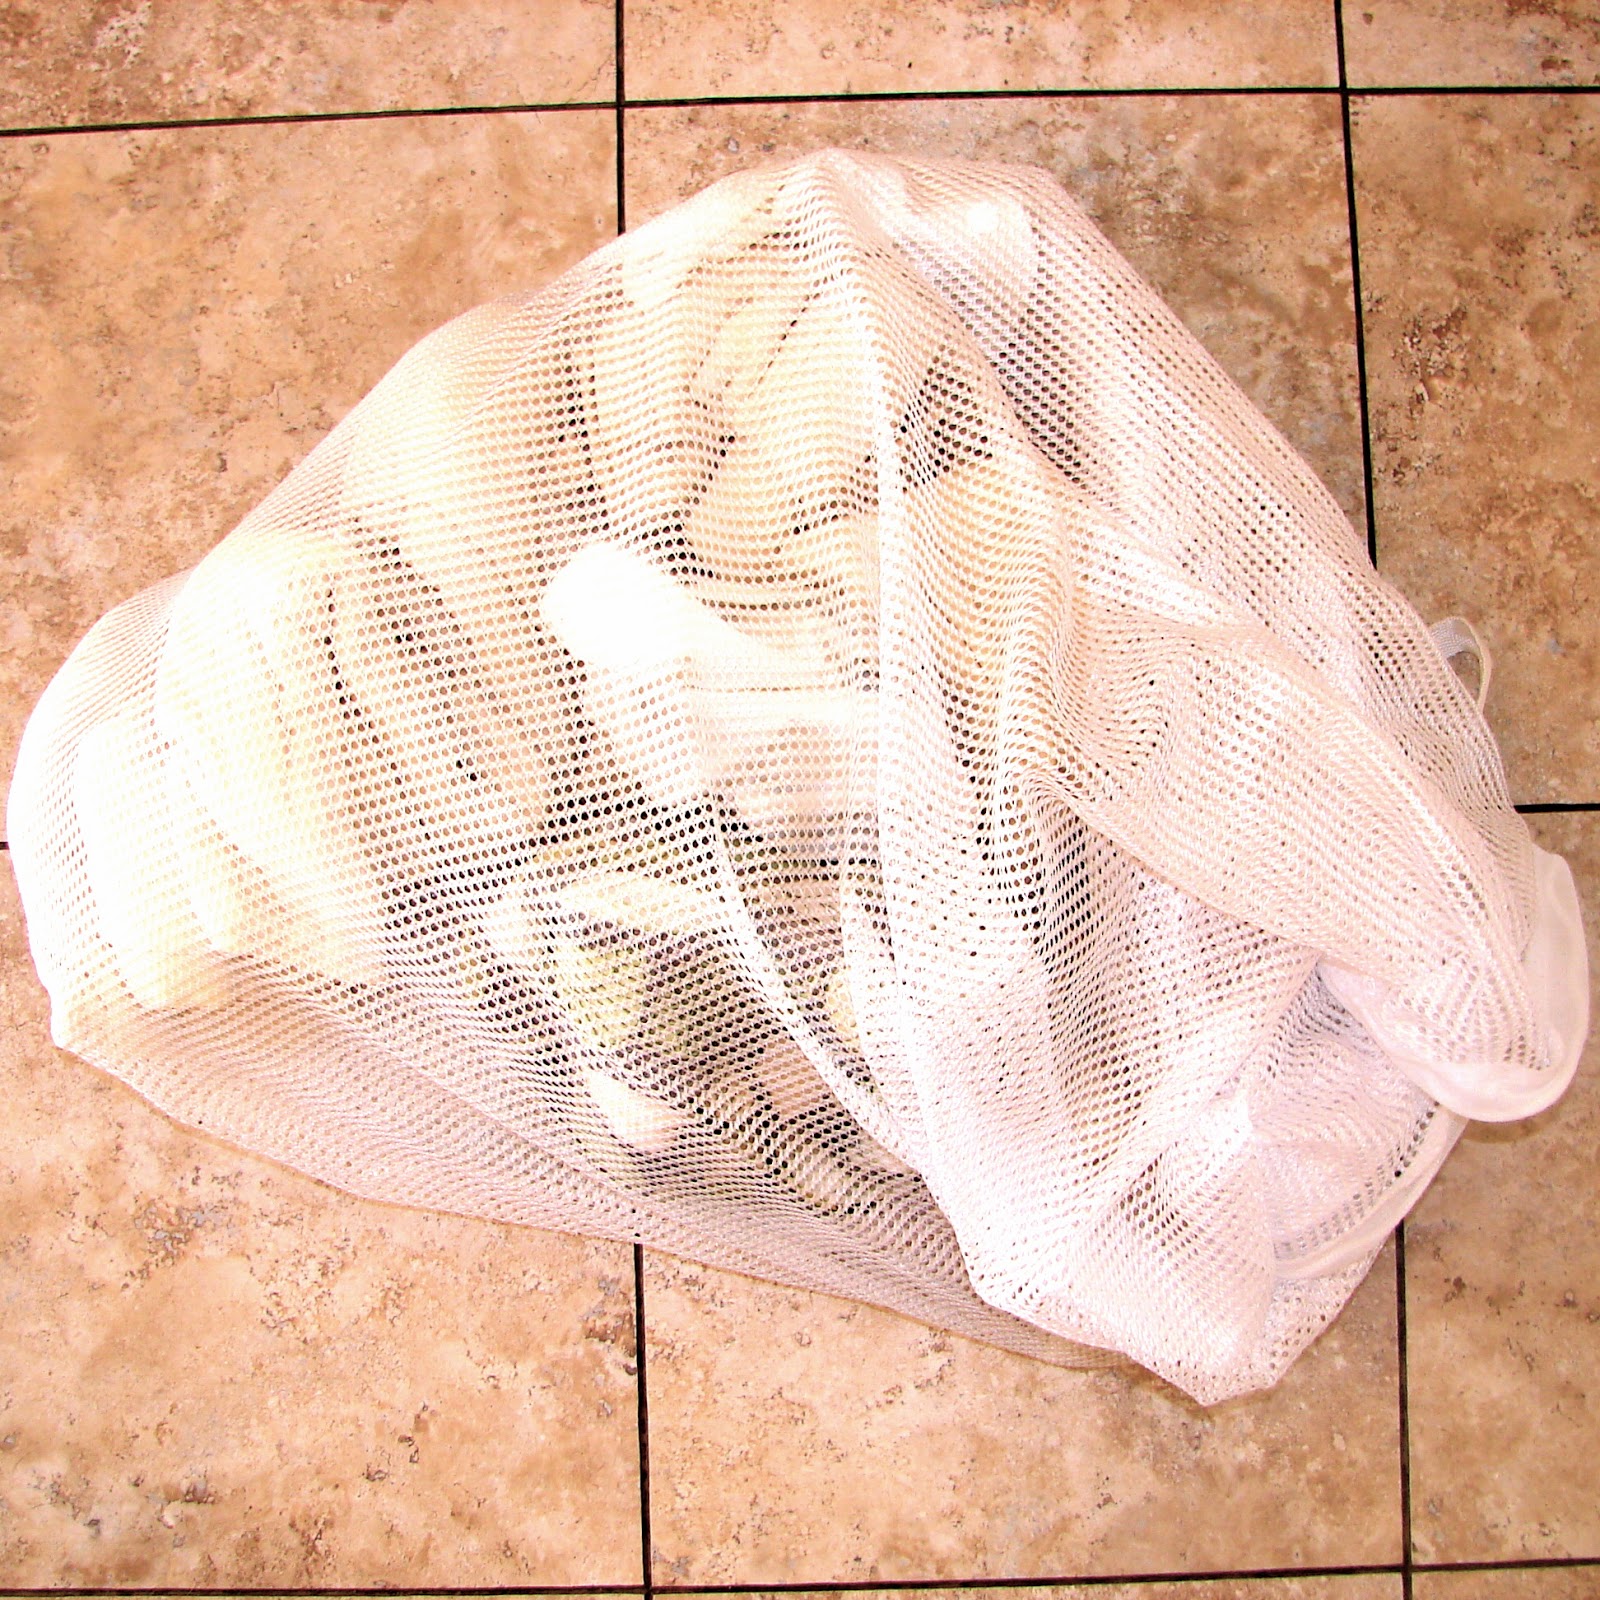
I made one other purchase to complete my cloth diapering routine. I use Bummis Bio-Soft Flushable Liners, which you can get for $8 for a roll of 100 liners. These super soft liners come on a perforated roll, so you just tear one off and lay it on top of your pre-fold when you change your baby. Brook's is on such a regular schedule that I don't even use one every time, just on the diapers that I know he will probably poop in. The liners let the pee go through, and capture the poo, so you can just lift it out and throw the liner in the toilet. No touching the mess, no spraying or soaking diapers. Other than that, I throw the wet pre-folds in a diaper pail with a mesh laundry bag, and when it's time to wash I throw everything, including the bag, into the wash. I use one cover for the entire day unless it gets dirty, and usually do a load of diapers every other night.
layer it: cover, pre-fold, liner. 
bag o' diapers
 There are a few specific instructions for washing the cloth diapers. First, they need to be rinsed in cold water. I can set my washer on the extra small load setting, and do the rinse. Once they have been rinsed, I sometimes add a load of towels or whatever else I have in with them. You'll want to wash them on hot, then rinse them again on cold, with an extra rinse at the end. I use my normal detergent, which I make at home with Borax, washing soda, and Fels-Naptha laundry soap. You can use your normal detergent, as long as it doesn't irritate your babies skin. But don't use fabric softener  as it makes the pre-folds less absorbent. After that I dry them on the gentle cycle or let them air dry, depending on how soon I need one!
Pre-folds need to be washed 3x in hot water with detergent to make the super absorbent. It's like one of those  sponge toys that grow when you put them in water!
Notes:
If I was going to cloth diaper full-time, or didn't want to have to wash diapers as often, I would probably order another full kit. This would give me 6 covers and 24 pre-folds, and still be less than $100.
$50-$100 diapers to diaper your child from birth to potty training???? If your wanting to save money, the choice is obvious. These diapers have snaps instead of velcro, so they won't wear out. And they have plenty of size options, so they should fit the smallest to fattest of babes. Have you seen my chunk? And he's not even on the biggest setting yet.
Hope this helps make your decision to cloth diaper a little easier! It's really not as scary as it sounds:)

Follow on Bloglovin


3.12.2013

Keeping Brooks fat: Making bulk {organic} baby food

In trying to keep Brooks on our family's clean eating path, I have made all his baby food. At around 6 months he started eating solids, usually simple, watery purees of one fruit or vegetable. He loved broccoli, and sweet potato anything remains his favorite flavor. He is now 9.5 months, so we have moved to more complex flavor combinations with more texture. To make his food, I'll use an afternoon to peel, dice, steam and mix everything. Then I can freeze it for about a months worth of meals. 
My grocery list for this batch included the following:
3/4 cup quinoa
1 cup kale
1 cup spinach
8 carrots
12 oz bag of frozen blueberries
10 oz bag of frozen peas
1/2 lb broccoli
3 medium zucchini
2 medium yellow squash
1 mango
2 pears
3 apples
2 sweet potatoes
3 bananas

Total cost: $24.67
Notes: 
*I purchased all organic produce, and local grown whenever possible.
*If you have no other use for kale, and can only buy it by larger amounts, just use spinach in its place. Or vice versa.
*Babies will seriously eat anything. Can't find a mango? Use a peach. Hate peas? Use asparagus. Brown rice can be substituted for quinoa.
*But DO pay attention to not use any hi-risk foods, such as honey, peanut butter, citrus, corn, raspberries.

 To make and store the baby food, I use the Baby Bullet system. Or just use your regular blender. I like the storage that comes with the Baby Bullet, which has a freezer tray to freeze 6 servings, as well as 6 serving containers. There are lots of other storage options available, and ice cube trays work well too. All the extra purees get stored in BPA free Ziploc bags until I'm ready to use them.

Start by prepping all your ingredients. Here is how each needs to be prepared:
Quinoa: Add quinoa and 1 cup water to small saucepan. Bring to a boil. Turn heat to low, cover, and let cook for about 15 minutes, or until all the water is absorbed. Remove from heat and fluff with a fork.
Kale and/or spinach: toss in a large skillet over medium heat for about 5 minutes, or until wilted
Carrots, broccoli, zucchini, squash, pears, apples, sweet potatoes: Peel the sweet potatoes, & peel and core the apples and pears. Chop everything into 1-2" pieces. These all need to be steamed or boiled. I don't have a steamer, so I just throw it in a pan with enough water to cover it and let it cook until soft. I did the apples and pears together, and the carrots, zucchini, and squash together. 
Peas: defrost according to package directions.
Mango and bananas: Peel and dice.


Once everything is ready to go, it's time to start creating some interesting mixes. You can adjust flavors to your babies preferences. If he favors sweeter taste, always include a fruit with your veggie mixes. Apple works well to sweeten up any green mixes.

Here are the flavor combinations I did:
Quinoa+Banana+Pear
1/2 cup cooked quinoa, 1/2 banana, 1/2 pear
Sweet Potato+Zucchini+Squash+Quinoa
1/3 sweet potato, 1/3 zucchini, 1/2 squash, 1/2 cup quinoa
Broccoli+Apple+Kale
all broccoli, 1/3 apple, all kale
Blueberry+Quinoa
1/2 blueberries, 1/2 cup quinoa
Carrot+Blueberry
1/2 carrot, 1/2 blueberry
Zucchini+Banana
1/3 zucchini, 1/2 banana
Zucchini+Squash+Pear
1/3 zucchini, 1/2 squash, 1/3 pear
Apple+Carrot
1/3 apple, 1/2 carrot
Spinach+Pea+Mango
all spinach, 1/2 pea, all mango
Sweet Potato+Apple
1/2 sweet potato, 1/3 apple
Quinoa+Pea+Pear+Sweet Potato
1/2 cup quinoa, 1/2 pea, 1/3 pear, 1/3 sweet potato

Measurements are by cooked and diced ingredient, so 1/2 pear equals half of my cooked chopped pears, not half of a pear. I hope that makes sense...

I blend everything as is first, then add small amounts of water as necessary until it gets to a good consistency. Depending on your child's age and how good they have gotten at mashing food with their gums, you can have a smooth yogurty consistency, or a mix with a little chunkiness.

Put your mixes in your storage containers, or in Ziploc bags. Lay the bags flat until frozen for easier storage. When I'm ready to use them, I just let them defrost in the fridge, cut off a corner, and squeeze the contents into my baby bullet containers.

And that's how I make a months worth of organic baby food in about an hour, for less than $25


Baby approved.

3.01.2013

Let's get Seussical


Tomorrow is Dr. Seuss's birthday, so Lincoln's preschool celebrated Seuss Day today. The kids were allowed to wear costumes, and since we already had a Cat in the Hat hat in our dress up collection, we went with that. Of course, I forgot all about it until Thursday night, so had to pull the costume together with things we had on hand. He had black sweatpants and sweatshirt, and with a white t-shirt underneath he started to look like the cat. But we needed that big red bow.
Lucky for him, I'm a crafty momma, and had all the supplies to make him one.
A google search came up with zip on how to make a Cat in the Hat style bow, so I had to figure it out on my own, and thought I'd share in case anyone else was searching! 
And sorry for the crap pictures. It was late. And I had been drinking.

Cat in the Hat Bow Tie

You'll need red fleece or felt. I used felt because I had some leftover from another project, but I think felt would work just as well, except it might not be as fluffy. You'll also need some skinny elastic and your hot glue gun. Start by cutting a 13x10" rectangle from the fabric, as well as a wonky piece that is 10" long. This piece looks like a turkey wattle, and there is no template, just start cutting a slender piece of material, 1" wide, and at the end, make it wonky.
You understand.

Next, fold you rectangle so the 2 shorter edges are just overlapping. Flip it over, and pinch the fabric in the center. Add a dot of hot glue to either side of the fold, then pull the sides into form an accordion fold.

Hold for 10-20 seconds to let the glue dry. Now take your wonky strip, and put the non-wonky edge on the underside of your bow. Wrap it around, and use a dab of hot glue to secure in place. 
Cut your elastic to a size that fits your child's head, adding a a few inches so it can be knotted. Pull the elastic through the space under the wrapped piece. Then I just knotted the ends of the elastic, then hid the knot under the wrapped piece. 

And there you have it:


2.26.2013

DIY: Easy Homemade Foot Scrub


I am straight up mean to my feet. I abuse them by going barefoot A LOT, and when I do wear shoes it's usually without socks. The result is dry feet that just look so...sad.
But there is any easy, cheap fix that totally takes care of the problem! This foot scrub is made with stuff you probably have in your kitchen right now, and works better than some store bought products I've tried.


What you need:
2 tablespoons brown sugar
1 tablespoon honey
1 teaspoon olive oil
1 teaspoon lemon juice

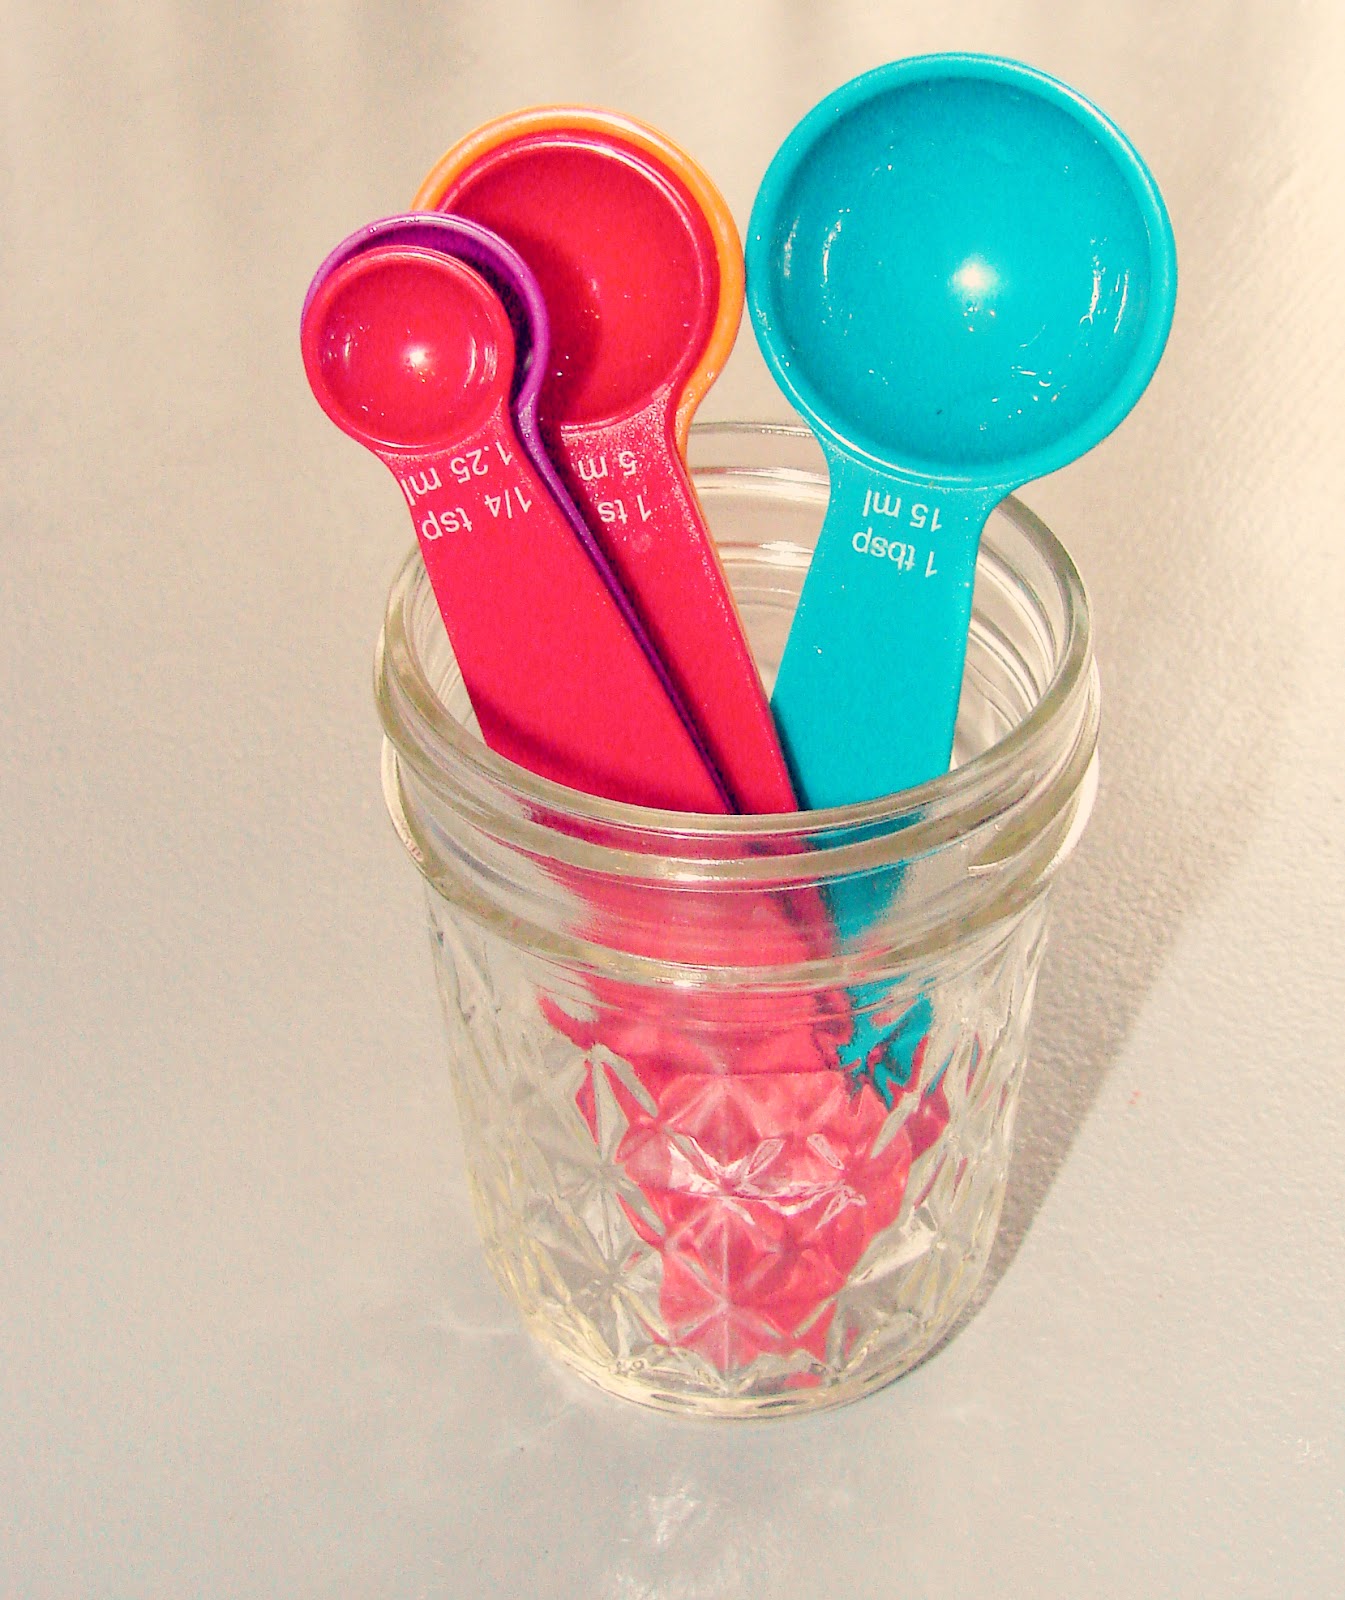
This makes enough for a single scrubbing, but I like to double or triple the recipe and store it in a jelly jar. It will keep for several weeks and doesn't need to be refrigerated.

Just mix everything together until its all combined. Soak your poor, poor feet in some warm water for a few minutes, then rub it on. Use it on your feet, legs, knees, or elbows, and just rinse off when done. It feels, and smells, awesome. I sometimes like to use a soft grit pumice to really get that dry skin off. Pat them dry and rub some lotion into those pampered toes.

And for the times I've been particularly mean to my feet, I follow up by slathering them with vaseline and putting on a pair of plushy socks (i.e., my husbands socks).
Its cold and rainy today, so a spa day is definitely in order. Give this a try, you won't be sorry!


2.14.2013

A little love...

I decided to make Lincoln's Valentines this year, and I think they turned out super cute!
For the boys in his class we had army men tied to red hearts.
There were also ones that said "I would catch a grenade for you" & "Love is a battlefield"

Then for the girls I attached these cute heart pencils to pink hearts.
Coming up with cheesy lines was hard! These also said "You're the write one for me" & If loving you is wrong, I don't want to be write"
Silly.

This afternoon me and big baby are going to the Valentines dance at Lincoln's school, where I'll take a hundred pictures. Because what could possibly be cuter than 4 year olds dancing??

Happy Valentines day lovers!


1.08.2009

My favorite...


I just recently stumbled upon this piece of art I did several years ago when I was in college. This is probably my favorite piece I've done. It is a 23"x 17" oil pastel drawing on drawing paper. Its nice to look back at older work, and see how my style of art, and the subjects, have changed so much. I would love to do more work like this, but who has the time?!